
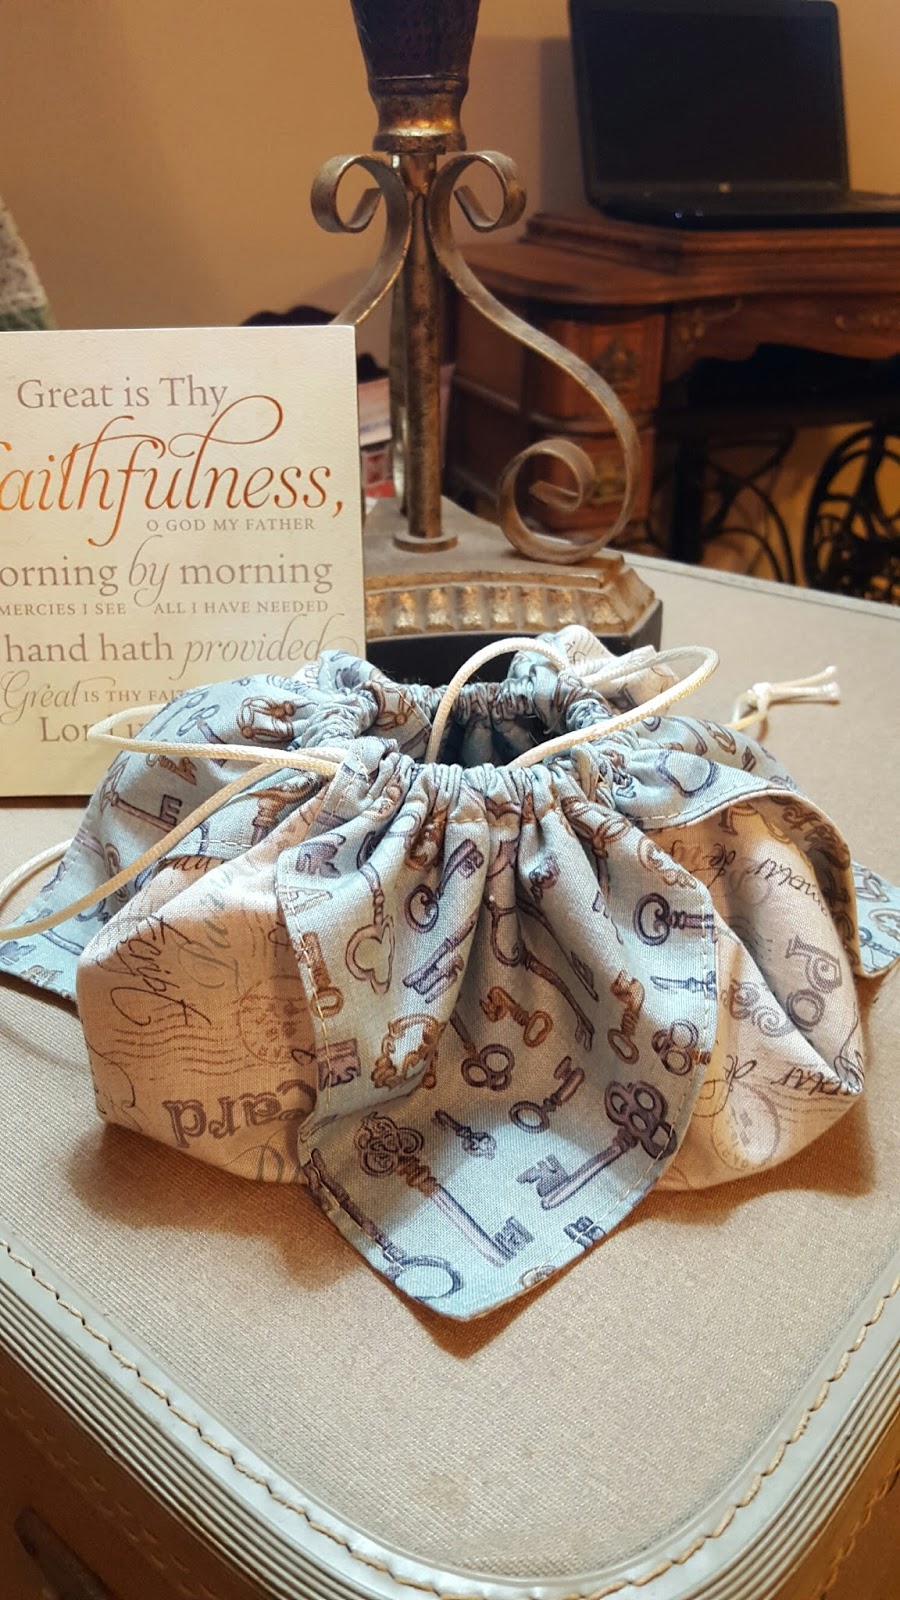
The adorable is the Origami Bag from The Crafty Mummy. It's about as simple as a bag can get:
- Sew 2 18" squares together - turn, press and top stitch
- Fold all four corners toward the center of the square, pin and stitch 1/2" from the folded edge to form the casing. (The amount you fold determines the size of the "ears" and the depth of the bag. Mine are 5", measuring from point to top of the casing.)
- Thread ribbon or cord through the casing and voila! - an adorable drawstring bag.

The not-so-adorable bag is this "teacher's bag", the first of two I'm making for my nieces. The bag is designed to hold a Rubbermaid file holder, which functions both as an organizational aid and as a framework to give the bag shape. As my luck usually runs, Rubbermaid has discontinued them. I found an office supply site that offered the rack below as a replacement with a promise that the measurements are the same. The width is adjustable and the sides fold in.
With careful arrangement, the completed bag doesn't look too bad.

But what woman is going to take the time to pose her bag every time she sets it down?? Under normal use, the bag looks more like this:

The sides of the plastic file holder are not high enough to give structure as it appears on the pattern, and the sides of the holder do not lock in place, so they have a tendency to fold inward. It's inconvenient and makes it harder to load papers, etc. Although it's a usable bag, it's not what I want to give my nieces. Fortunately I have enough fabric to begin again with another pattern. This time the bag gets it's shape from heavy-duty interfacing.
So, it's "back to the drawing board" or, in this case, the cutting table.
This post is linked to Needlework Tuesday, hosted by Heather and Quilts & Books.
I know that Casey's teacher's bag is getting used every day and works great! So bring on the interfacing! Sorry you had such a struggle though . . . the material is great!
ReplyDeleteGreat projects -- and glad you figured out a way to make the bag work.
ReplyDeleteWhenever I want to add stiffening I use the plastic mesh canvas that is intended for needle point. I have replaced all the thin flimsy bottoms in those reusable grocery bags with it. It is great because it acts like cardboard but it can go through the wash. It is about 69 cents per sheet and I think it will go up to 18" in one dimension. When I was googling a link I found that is also comes in circles! Encase it between the bag outer fabric and the lining fabric. Cut a bit smaller and not included in the seams, it still gives support and shape. For example
ReplyDeletehttp://www.michaels.com/tools-and-accessories/plastic-canvas/809187814
You may not be 100% pleased with the teacher bag but it still looks whimsical and like someone is ready to go back to school. And that origami bag truly is adorable. I think I want to make one for my granddaughter to keep her Legos or her My Little Ponies in. It will be easy to open and mold to the shape of whatever is in it! Perfect!